This is the first step where I get to make the guitar (or piece of wood that at some point will hopefully begin to resemble a guitar) look fancy/like a guitar. Whatever that is worth, I am now gluing on the headstock veneers. I will also interject now and say that I have failed you readers, and did not document me planing down the top, flat side of the neck. I did this with the help of Dave, the father in law, and his jointer. It was planed in a manner to give some overall taper to the neck. Honestly, there wasn't much to see (not that you will know, you'll just have to take my word for it).
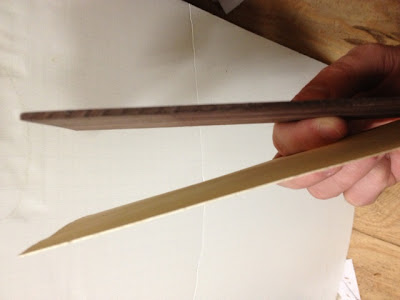
As you see, I have both a maple and a rosewood veneer to be glued:
And one is much thinner than the other. The thinner maple will go between the headstock and the rosewood.
Before you do some clamping, best get your clamps together.
Here you can begin to visualize what it will look like. I rearranged the rosewood a few times and determined that I like it with the grain going vertically, with the wider grain nearer the bottom.
Veneer is glued and clamped:
Note that I left some of the veneer overhanging where the headstock, that will get cleaned up in the next few steps.
I set up a saw fence to saw off that excess.
And the saw of choice today will be the dozuki saw. It is a Japanese saw with a very thin kerf and it cuts on the pull stroke, making this a very precise saw. I suppose it could also be some sort of scary movie villain's weapon too...
And after some sawing, I'll finish cleaning it up with a chisel.
That looks a lot better. I also planed/scraped down the sides so that they were flush with the headstock. You can see in the following photo how the maple looks sandwiched between the headstock and rosewood.


